
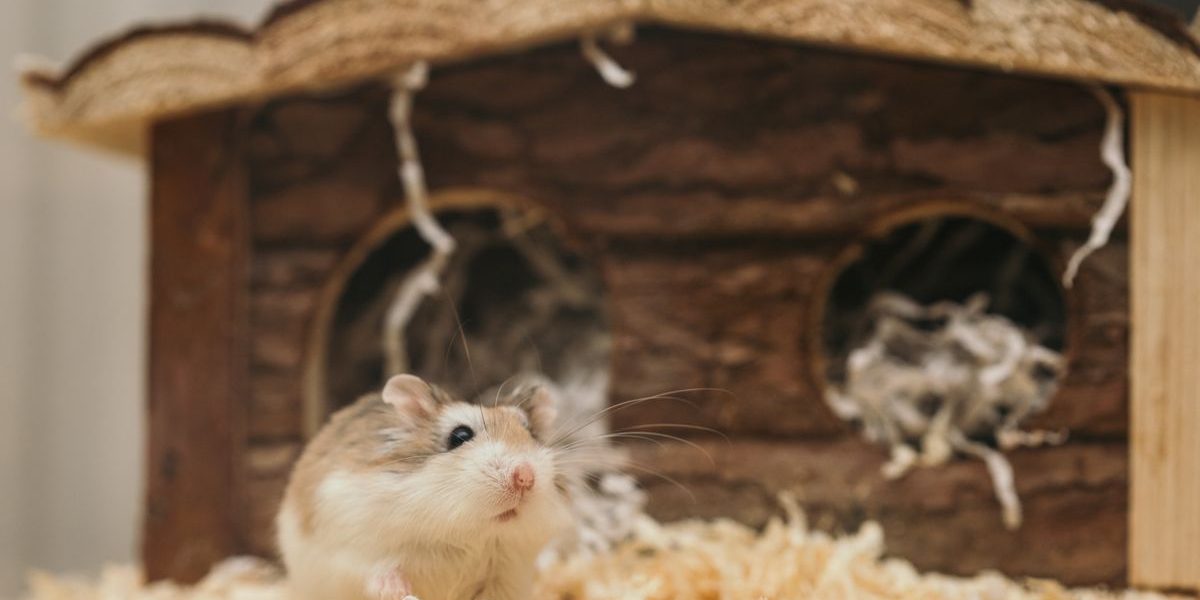
Start with an enclosure of at least 100 x 50 cm. Fill it with 20 to 25 cm of safe bedding, deepest at one end. Add a solid wheel sized for the species on a stable base, several hides including an enclosed nest, a sand bath, water, scattered food, chews and plenty of cover. Set it all up before the hamster arrives, then leave it to settle for the first few days.
A good setup lets a hamster do what it would do in the wild: dig, run, forage, hide and keep itself clean. The steps below build the enclosure in the order that makes it easiest to get right.
Step 1: Choose the location
Pick a quiet room with a steady temperature, out of direct sun and draughts and away from TVs, speakers and other pets. PDSA suggests keeping the enclosure at around 18 to 21°C. Put it on a stable surface where a nocturnal animal running on a wheel will not keep anyone awake.
Step 2: Prepare the enclosure
Use an enclosure with at least 100 x 50 cm of unbroken floor; see how big a hamster cage should be and our cage comparison. Wipe it out, check the lid or doors close securely and make sure there are no gaps wider than 1 cm.
Step 3: Place platforms for heavy items
Before bedding goes in, stand a platform on the floor where the wheel and sand bath will sit. This stops them sinking or being undermined when the hamster tunnels.
Step 4: Add the bedding
Fill with unscented paper bedding, mixing in aspen and some hay so burrows hold. Aim for 20 to 25 cm in the main digging area, banked higher at one end if the enclosure allows. Press each layer lightly. Details are in safe hamster bedding and how deep bedding should be.
Step 5: Install the wheel
Fit a solid-surface wheel: about 30 cm for Syrians, 20 to 25 cm for dwarf species. Check it spins freely and sits level. See what size wheel a hamster needs.
Step 6: Add hides and a nest
TVT recommends at least three hides, and both TVT and Blue Cross suggest a multi-chamber house for sleeping. Part-bury the main hide in the deep bedding so the hamster can extend it downward. TVT suggests entrances and tunnels at least 7 cm wide for Syrians and 5 cm for dwarfs. Leave plain tissue nearby for nest building.
Step 7: Add a sand bath
Blue Cross, Woodgreen and TVT all recommend a sand bath kept in the enclosure, and Blue Cross notes a large sand area matters most for Roborovskis. TVT suggests a tray of at least 20 x 20 cm filled with fine, round-grained sand, and advises against sharp quartz sand, bird sand and builders’ sand. Choose sand rather than powdery dust.
Step 8: Food and water
Provide fresh water in a bottle, a shallow bowl, or both; welfare sources differ on which is better, so use whichever your hamster drinks from reliably and check it daily. Blue Cross recommends scattering dry food around the enclosure instead of using a bowl, which turns feeding into foraging. See what hamsters can eat.
Step 9: Cover, chews and things to explore
Add cork logs, wide tunnels, branches from safe woods and seed sprays so the hamster can move between areas under cover. PDSA lists apple, pear, hazel and willow among safe gnawing woods. Ideas and options are in best hamster toys, hideouts and sand baths.
A simple layout
| Zone | What goes there | Why |
|---|---|---|
| Deep end | Deepest bedding, part-buried multi-chamber hide, nesting paper | Burrowing and sleeping |
| Middle | Tunnels, cork, sprays, scattered food | Cover and foraging |
| Shallow end | Wheel on a platform, sand bath, water | Stable footing and easy access for cleaning |
Before the hamster moves in
The first few days
Blue Cross advises leaving a new hamster undisturbed apart from feeding for the first two or three days, which also helps reduce stress-related illness. Keep the room calm, top up food and water, and hold off on handling. When it is settled, begin taming gradually.
Keeping it clean
Remove soiled bedding and stale fresh food regularly, clean bowls daily, and do a larger clean every few weeks, keeping a portion of the clean used bedding so the enclosure still smells like home. Avoid emptying the hamster’s food store completely; if it has to go, replace it with a similar amount.
Frequently asked questions
How long does setup take?
Allow an hour or two for a first setup. Having it complete before the hamster arrives is more important than speed.
Can I use a hamster starter kit?
Most starter kits are built around cages well under 100 x 50 cm with small wheels. Buying the main items separately usually works out better for the hamster.
Do hamsters need a second level?
No. Floor space and bedding depth matter more. If you add a platform, keep it low so a fall is short.
Should I rearrange the cage often?
Small changes, such as moving a tunnel or adding a new spray, add interest. Wholesale rearranging removes familiar scent trails and can be stressful.